ProX & SK

ProX Home Center Ladies Night w SK


Just a quick thanks to ProX Home3 Centers for hosting this years Ladies Night.

What a fabulous turnout and such talent abound in this valley. You ladies were such fun and make me feel welcomed to your community. Now I'm part, and I thank you.

SK on Elderberry

Wind Through The Willows with SK

Wind Through The Willows.

#painted upholstery#painted fabric

 An old cracked leather chair deserves additional life with SK

My first go round with this cracked leather chair didn't turn out brilliantly. I could not fix or disguise the leathers multiple cracks.

My decision to cover the old leather was a hard one. I so wanted to keep the old leather. Twas not to be.


Using painters canvas tarp, I covered the entire fabric of the chair.

I then began to paint. That's what happens when a blank canvas is dropped into my lap.


I could not find a braid the correct color, so using the chalk paint to dye the braid and it came through with flying colors. Sorry bad pun... 
Chickadees gather to share warmth on this cold winter day, on the only branch they could find. Lucky they chose my chair. Thank to the Graphic Fairy for the pretty birds. The Graphic Fairy is the very best place to find amazing graphics.
My design was an attempt at simplicity. Hmmmmm.

I will be sealing this canvas with Scotch Guard fabric protection. Waxing her is not an option because the wax isn't truly "clear".  It yellows fabric a bit.


Thanks for visiting.


The Secret Door with SK

A Simple, Inexpensive Door Into Magic

These are the doors installed in our new home. Simple builder's grade doors. Hollow core with a white painted finish from the factory.

Not my idea of some kind of wonderful and not pretty at all. Well at least not what I was dreaming of.
My ideas don't always make sense to other people. A simple cure...or so I thought.

Using a circular saw, we cut the top curved panel out.
Using strips of thin masonite I filled the inner cut edge. I then used carpenters wood filler to caulk the gaps between the door and the masonite filler.

As this was drying I used a simple vine stencil to make a 3-D design.
I painted both sides a flat black chalk paint. I love damask designed paper. I turned the door over and papered the bottom panel.  After it dried I sanded it back and antiqued the paper.

I acid etched a simple striped and damask design onto the the glass insert which will go into the upper panel cutout.

The upper curve is accentuated with a 3-D damas design. I painted it black then whitewashed limed wash, which I wiped off leaving a soft old look.
 
The front is painted with Modern Master Metal Effects Paint. Copper and iron


The clear bubble glass knobs were painted with a teal glass paint. The knob backer is painted with rust and copper effects paint.

Thanks for visiting.


So Many Black Stripes with SK

SK's yard sale find. $5.00 with broken legs.  #painted upholstery#painted fabric#chalk painted upholstery

The fabric is in pretty good condition. The nailheads are all there. The tapestry fabric had no tears, so my custom chalk paint would work great.
My personal favorite chalk paint recipe is: 
2 parts flat latex paint
1 Part Calcium Carbonate, Ground white chalk
A couple tablespoon water
Mix till all lumps are gone
And I mix throughout my painting project as well.

I dampen the fabric with a spray bottle,  and start at the top and paint downward. Very light coats. I took 3 coats to cover. I find it interesting that the tapestry fabric looks amazing as the coats of paint dry.

I started the wood arms and legs by silver foiling.
 
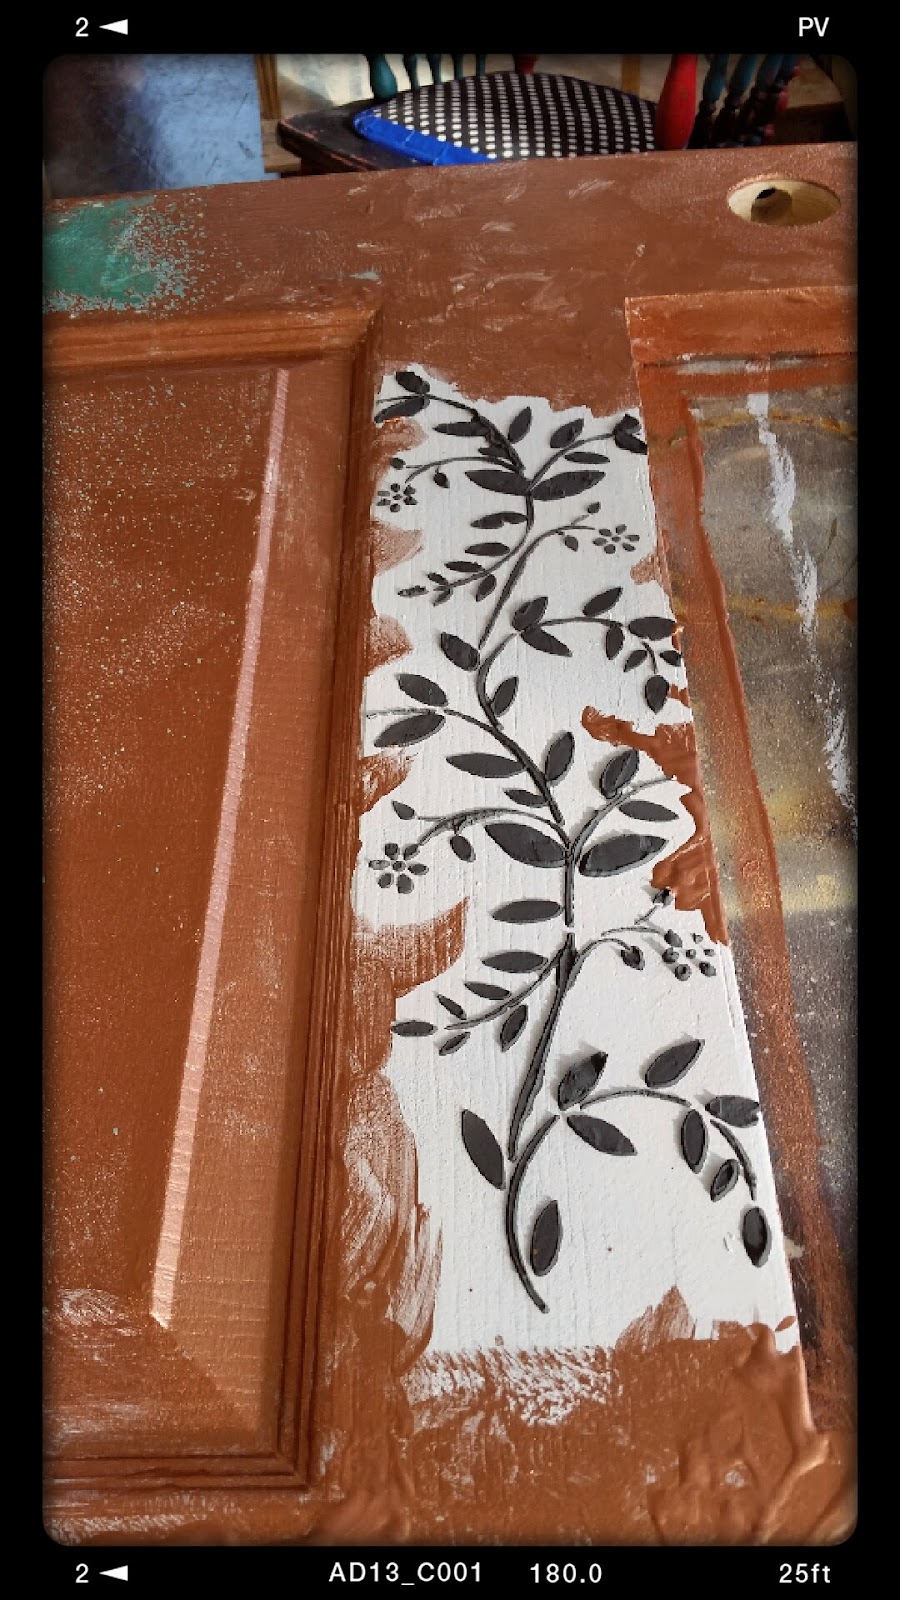
After the black stripes were dry I drew my design on with white chalk.
Not liking the first design, I washed the chalk design off and started again.
You might notice the woodwork is now old gold foil. I wasn't happy with the silver.

I have some pretty diamond gold buttons going on next.
Black penned details are starting to appear.

Not bad for five bucks...


After the final artwork was finished, I used a clear paste wax, rubbing the wax in circular motions.
When the wax was dry, I started buffing. I repeated this three times.

The wax made the gerber daisy appear golden and glow a bit.
Love it.
It feels like a fine leather.

Thanks for visiting.