
To say the least, I learned a lot.
This might not be a project most people would attack. But when I want something, I jump in, and as well as getting something cool, I learn a little along the way.


My sub-surface of the island was 1" plywood. I sealed the wood with a good water based primer. I let this dry for two days.
My sheet of copper was 8'x4'. I buy my copper from Alaskan Copper in Portland.
I sprayed a high tolerance contact spray glue on both surfaces (the copper and the wood). Let this stand till tacky. With help, we set the copper in the center of the plywood. Making sure when positioning I had a good four inch overhang on all sides.I laid heavy weights on this surface for two days. I made sure I didn't have any air pockets. I actually rolled it with a large heavy rolling pin from the center out. This helps eliminate bubbles.


After the drying time, I started to pound my edges with a rubber mallet. If you have made a quilt, the edges I do are similar.
I tried to make sure I was holding down the surface so I didn't jar and lift the top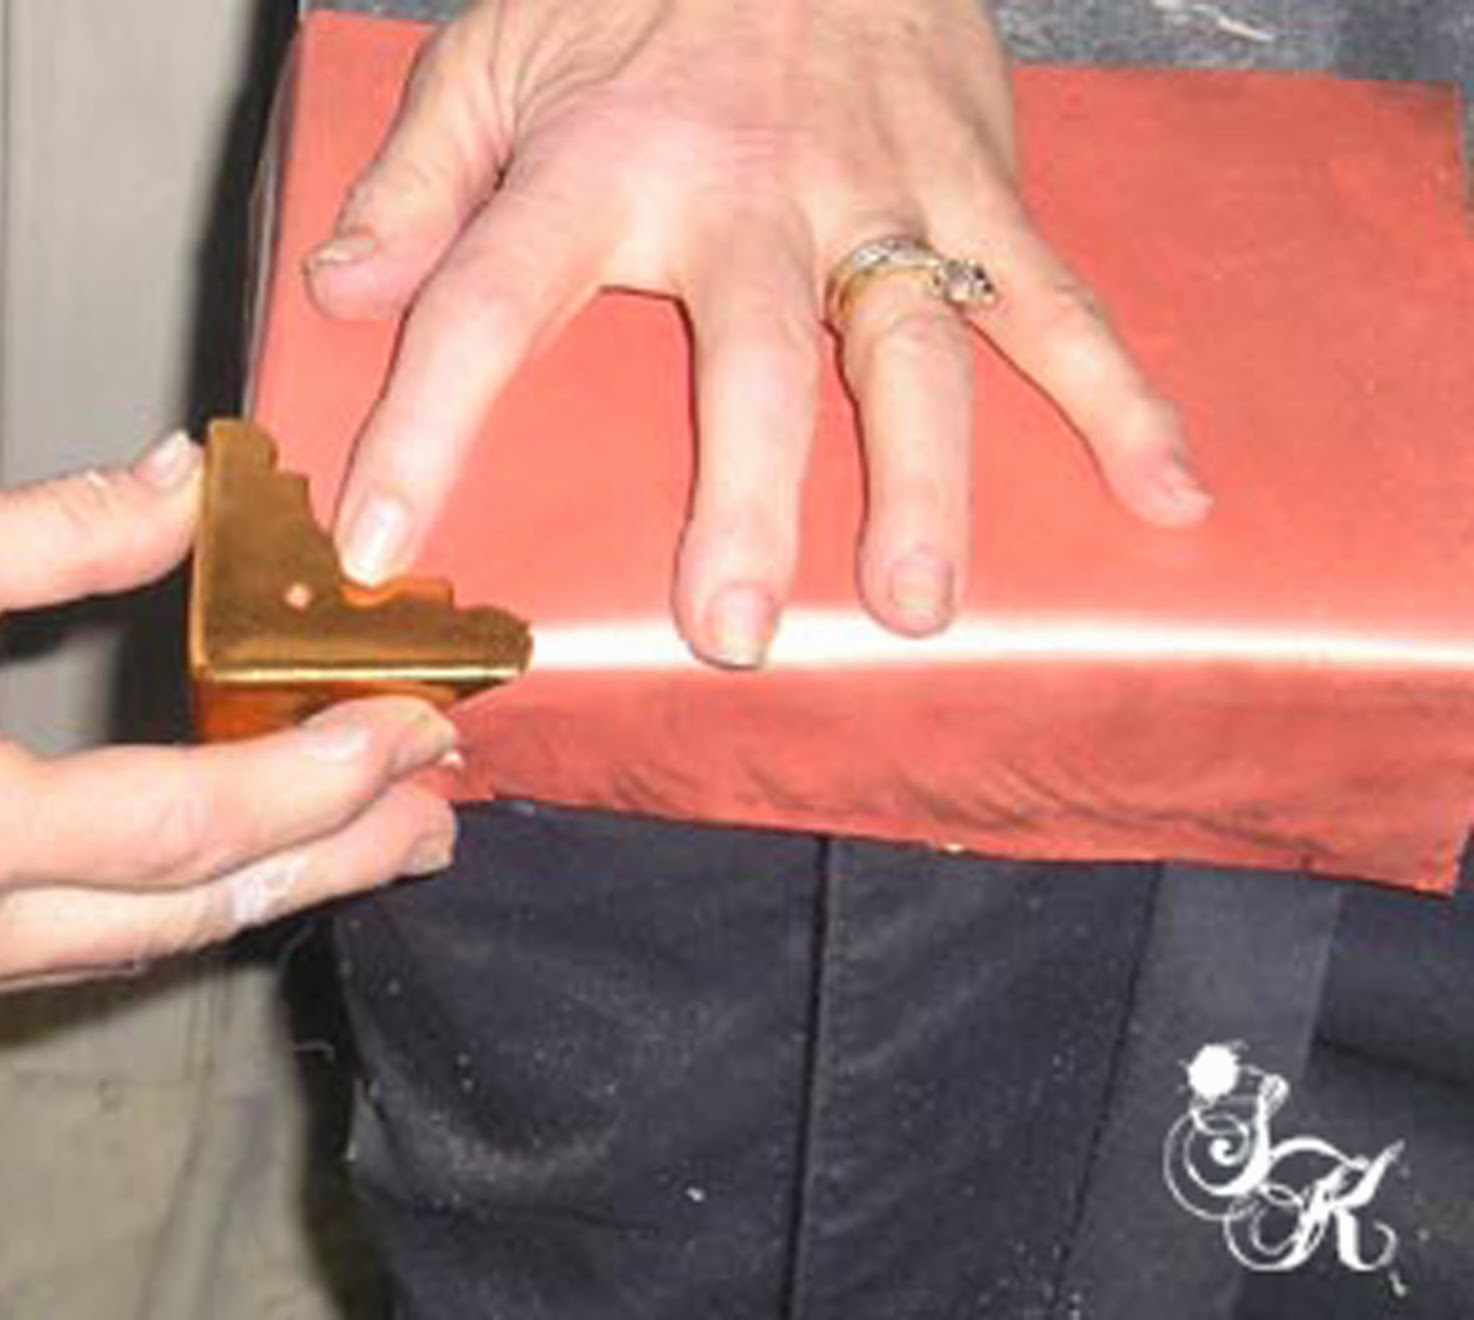

These cool corners are actually made for old steamer trunks. I bought every one I could find.
The rolled under edge is nailed into place with copper headed nails. This keeps sharp edges out of reach.
The rolled under edge is nailed into place with copper headed nails. This keeps sharp edges out of reach.


Just a few of my copper projects.


The rolled under edge is nailed into place with copper headed nails. This keeps sharp edges out of reach.

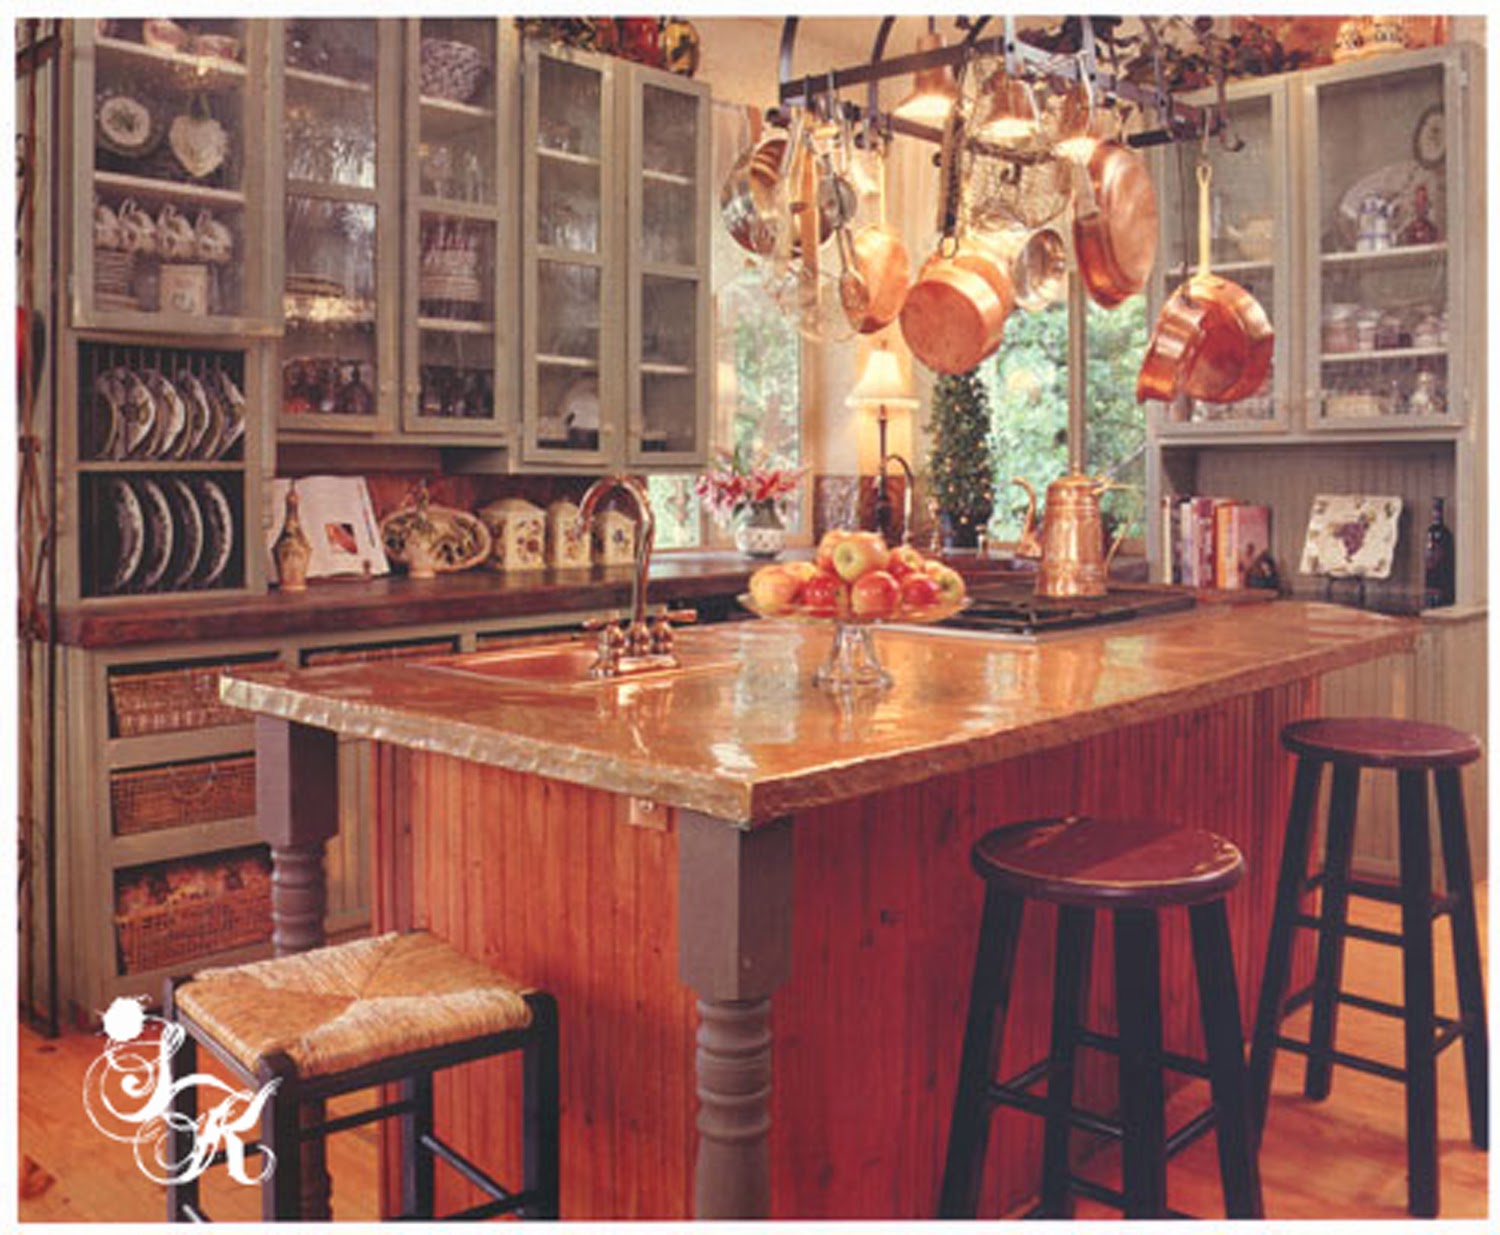
Copper is a natural antibacterial surface. It works great on cooking surrounds. It patina's as it oxidizes. The color is wonderful, but you can keep it shiny as a new penny with a sealer.

Thanks for visiting. sk on elderberry

http://www.hometalk.com/sksartell/project
http://www.pinterest.com/sksart
Follow my blog with Bloglovin
http://www.pinterest.com/sksart
Follow my blog with Bloglovin
No comments:
Post a Comment
Hey Friends, love to hear your thoughts.
SK